STYLING EXAMPLES
Customising Styles and Presentation
The following examples show how you would configure the various areas of the Bill of Materials report into a corporate style for presentation output.
See Also:
Adding a Custom Header
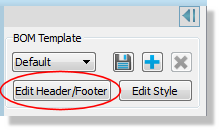
1) Launch the Header/Footer dialogue from the button at the top of the control panel
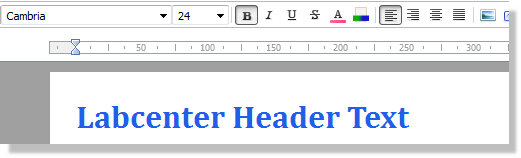
2) Set the font style, size and decoration and type the header text.
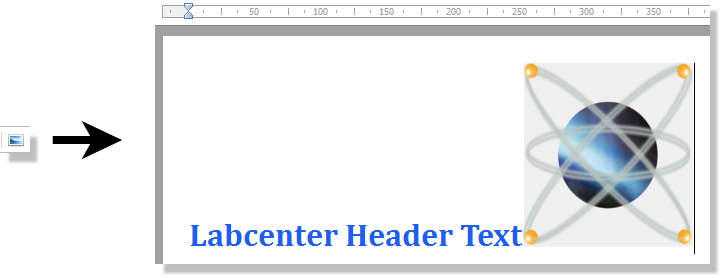
3) Insert the image directly at the right of the text.
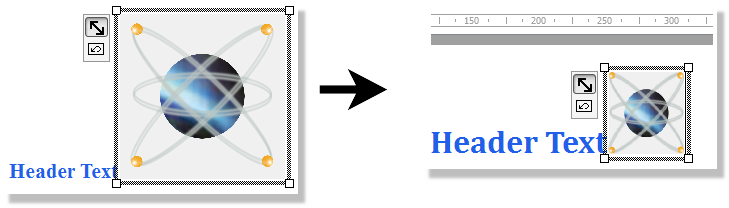
4) Hover the mouse over the image and then use the drag handles to re-size it as required.
5) Left click on the ruler to place a tab stop and then left drag the tabstop with the mouse to move it to the right.
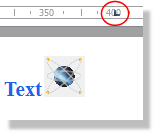
6) Position the cursor/caret just before the image and use the TAB key to move it to the tabstop. The left hand side of the image will align with the tabstop. If the tabstop is too far to the right for the image to fit on the line it will move to the left of the next line.
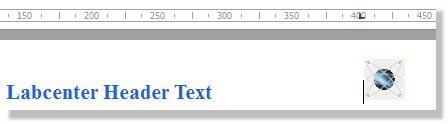
Drag the tabstop (and therefore the image) to position the image exactly as required.
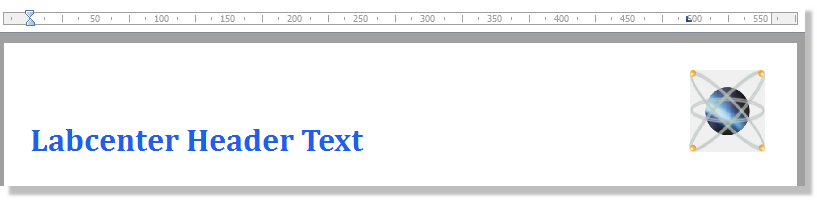
Tabstops allow you to control positioning of part of a line, hanging indents give separate control over the indentation of an entire line and paragraph indents give control over the position of the entire paragraph. Together with basic justification controls (left, center, right) this gives you full control over the layout of the header/footer blocks.
See Also:
Formatting Custom Header and Company Logo
Changing Fonts
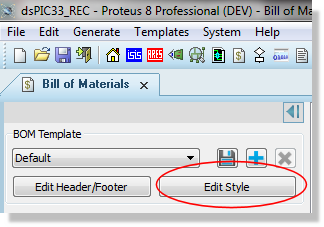
- Click on the Edit Style button at the top of the
Control Panel.
- Select the Style that you want to edit from the
style selector combo box at the top.
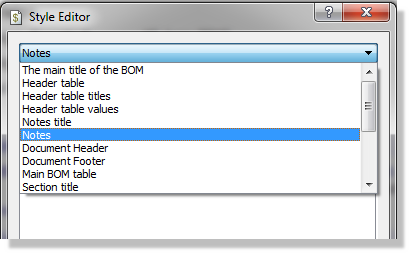
- Change the font-face, size, decorations and colour
from the options on the dialogue form. Changes will live update on
the main report screen.
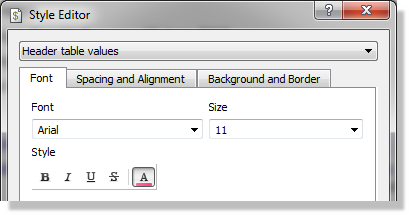
If the font tab is disabled it is because you have selected a table style and not a text style. For example, select style Header Table Titles or Header Table Values instead of Header Table.
Formatting Design Information
The design information block at the top of the BIll of Materials report uses information specified in ISIS so the first step is to specify this data.
- Switch to ISIS tab and then invoke the Edit Design
Properties command from the Design Menu.
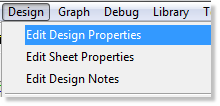
- Title, Revision and Author are all used in the
Bill of Materials Report so populate these fields.
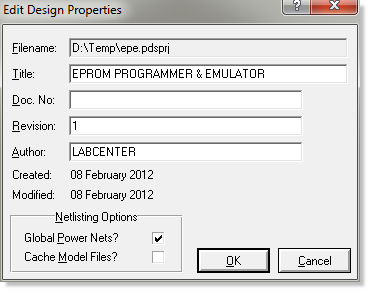
- Commit changes and return to Bill of Materials
frame.
You can then use the Styling dialogue to format or style the block.
- Click on the Edit Style button at the top of the
Control Panel.
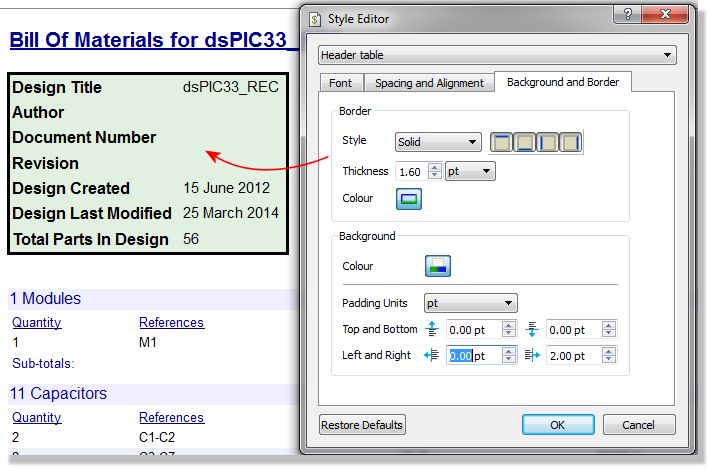
- Select the Header Table Style.
- Switch to the Background and Border tab and configure
borders, colours and padding. The example below shows a solid border
with a pastel green background.
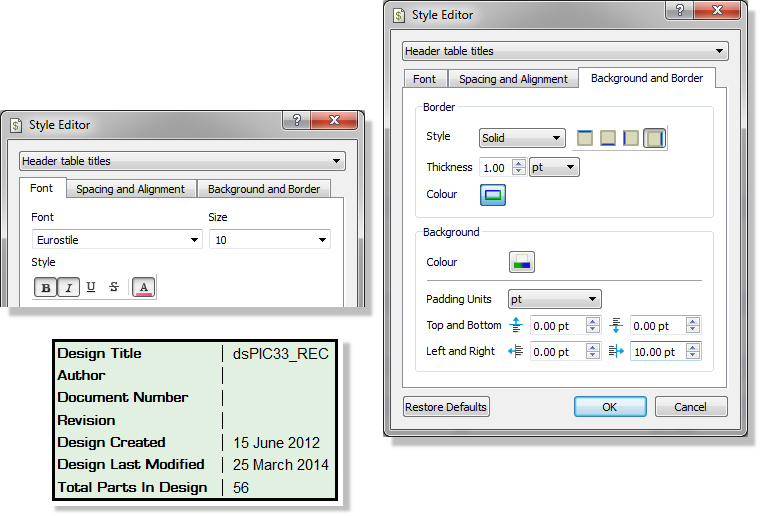
- Switch to the Header Table Titles style and adjust
the font. You can also add a separator between the Titles and Values
by using a right hand dashed border on the background and borders
tab.
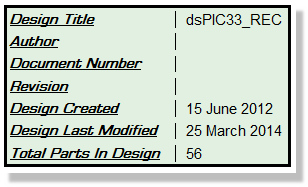
- Switch to Header Table Values style and again adjust
as required.
Formatting Section Titles
- Click on the Edit Style button at the
top of the Control Panel.
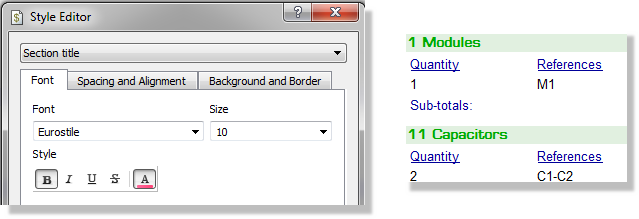
- Change the Style Selector combo to the
Section Title Style
- Format changes here to font, colours,
border and background.
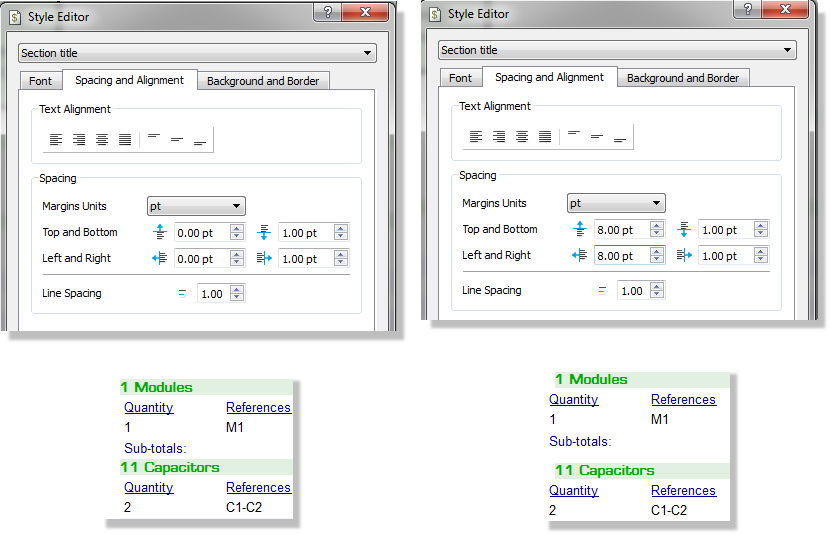
- Use the Top and Bottom Margins settings
to control the spacing between the Titles and the Content.
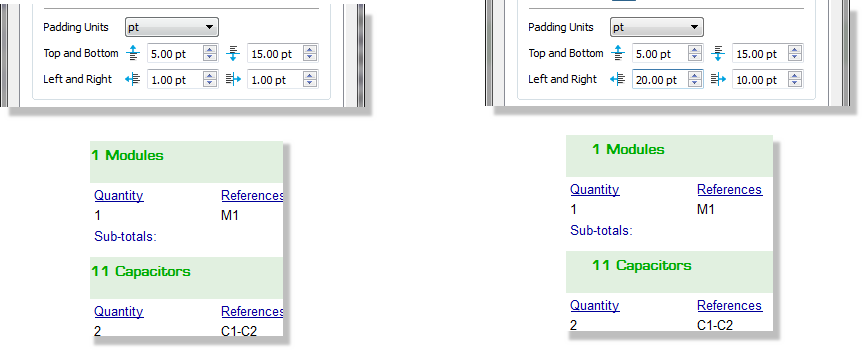
Use the Left Padding Settings to indent the Title content.
See Also:
Bom Categories: Adding, Deleting, Ordering
Formatting Data Entries
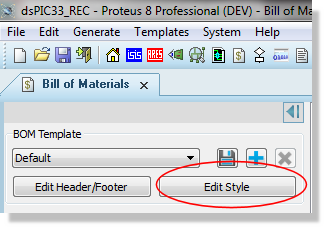
- Click on the Edit Style button at the
top of the Control Panel.
- Navigate the Style Selector to the Odd
Row Heading Entry. Use the dialogue form to change font, spacing and
borders as required.
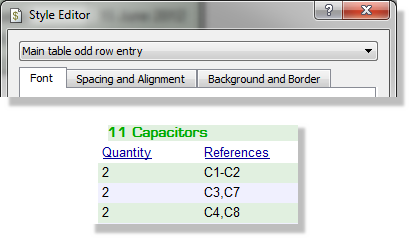
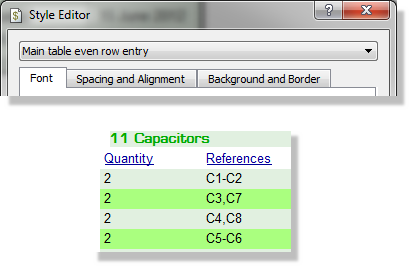
- Switch to the Even Row Entry Style and
repeat. It is often useful to provide a subtly different background
colour in odd and even rows to help differentiate the content.
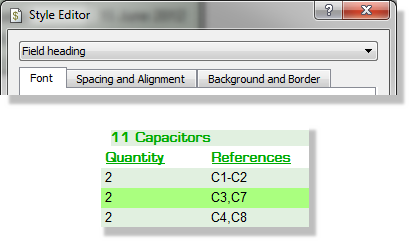
- Switch to the Field Heading Style. Changes
here affect the styling of the column headers (quantity, ref, value,
etc). Adjust as required.
Switch to the Sub-totals style and adjust as required.
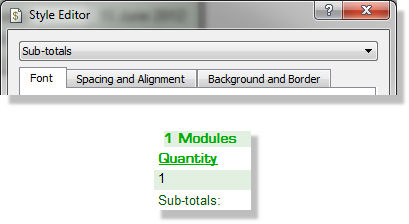
Whether a given column (field) will output sub-totals is specified at the point you add the field or by editing the field.
See Also:
Bom Fields: Adding, Deleting, Ordering